
herbal remedies
How to make kombucha
Today is the day you say goodbye to expensive store-bought kombucha. If your obsession with this semi-bubbly drink is as aggressive as mine, you are spending way too much on this delicious beverage and should venture into the world of SCOBYs and fermentation.
When I first started researching homemade kombucha, the idea of a “living mother” or SCOBY was almost as weird as the actual slimy texture of a SCOBY. And how the heck was I even going to find said SCOBY?
The process of creating your own kombucha is so easy, once you create your first batch, you will never go back. (and I think homemade kombucha tastes way better too)
This post will detail out a step by step process of making kombucha in your own kitchen. The basic order of events goes something like this:
- Make or get a SCOBY
- First Fermentation (6-10 days) – the first fermentation makes the actual kombucha
- Second Fermentation (3-10 days) – the second fermentation carbonates the kombucha *optional
Supplies Needed:
- smaller glass jars
- plastic jar lids
- SCOBY
Step 1
Get a scoby
In order to get a SCOBY, I called up an amazing friend of mine and was able to get a healthy SCOBY and a small amount of tea that the SCOBY lived in. It is important to get a cup or two of the tea that the SCOBY lives in so that when introducing the SCOBY to your new tea liquid it is not shocked.
This is just like when you buy a fish from the pet store, you get a small amount of water with the fish and when you put the fish into it’s new tank home, you also put all the water that came from the store into the tank as well.
Step 2
First fermentation start by brewing your tea
The kind of tea that you use is important during the brewing process. Pure, black tea with no additional flavorings is a great place to start. Caffeinated, plain black tea. I like the flavor of STASH Earl Grey tea. Once you get the kombucha making process down, you can experiment with different kinds of teas.
Boil water and pour into your glass jar. I typically tear the tags off of three tea bags and toss them in. If your tea bags have a metal staple holding the tag to the strong, I always remove this metal piece before putting the bag into the water. You can use more or less tea bags depending on how strong you want the flavor to be. I have found that three bags is a pretty strong flavor without being too much.
Add anywhere from 1/2 cup to 1 cup of sugar to your tea and stir with a clean wooden spoon to combine. Sugar is important because the healthy probiotics feed on the sugar. As they eat through the sugars added to the brew, they cause the drink to ferment and allow for the creation of more beneficial bacteria.
Let the tea cool
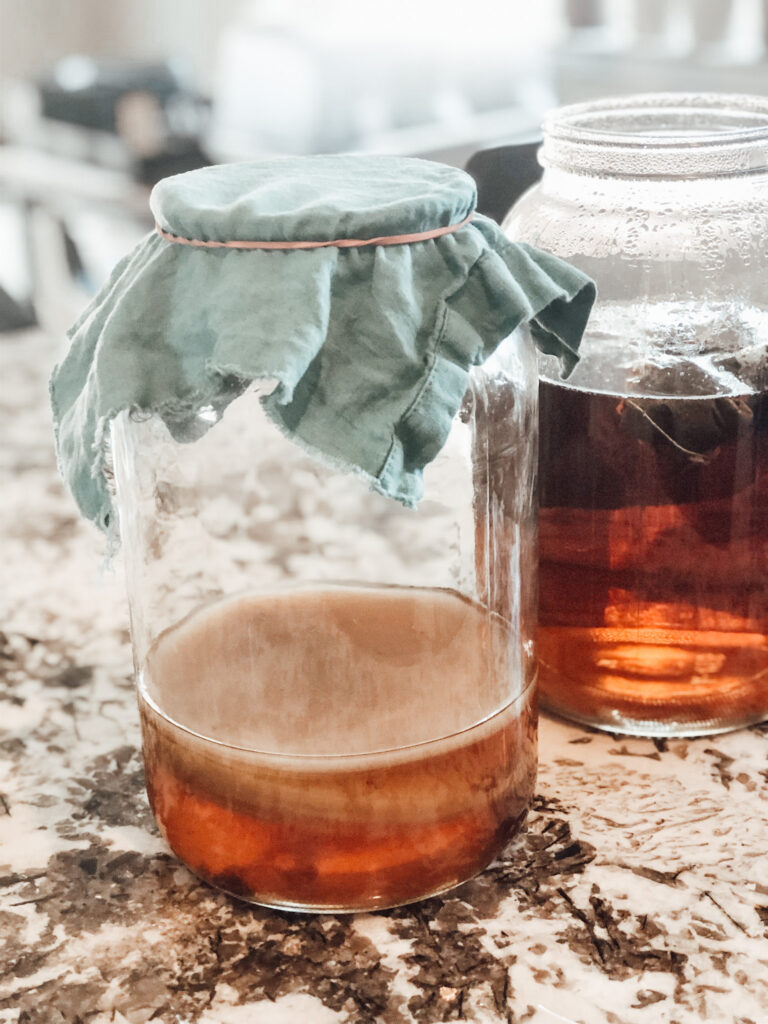
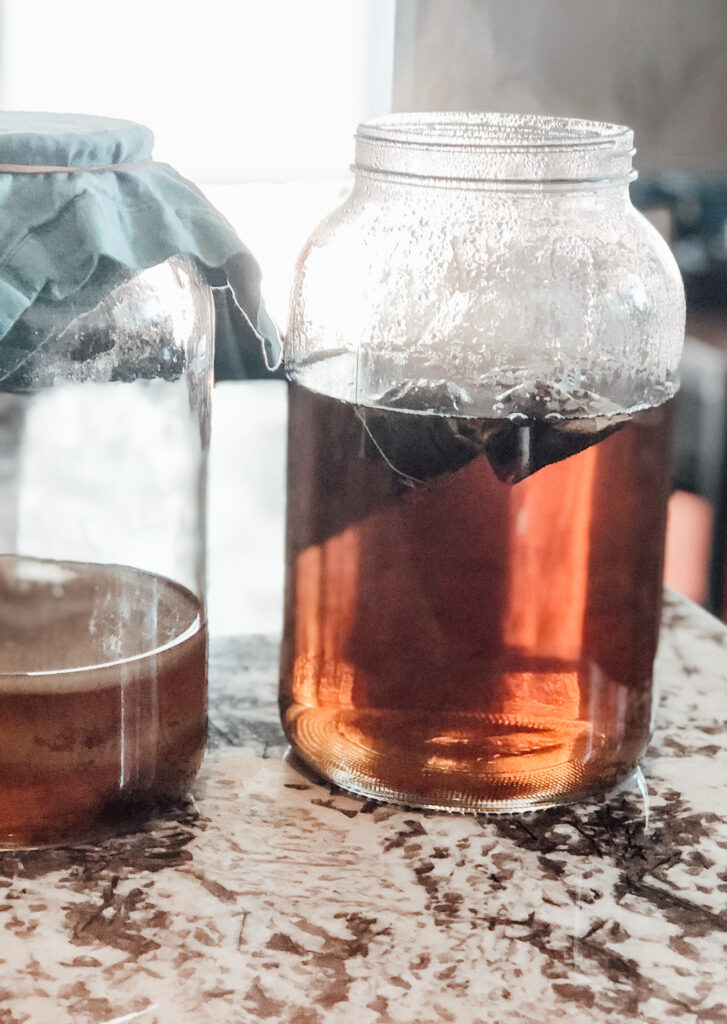
Before putting your SCOBY and the extra SCOBY tea (shown in the left jar above) into your new tea batch, let your tea cool to room temperature. Remove the tea bags from your jar and you are ready to combine your new tea and your SCOBY.
combine the scoby & tea
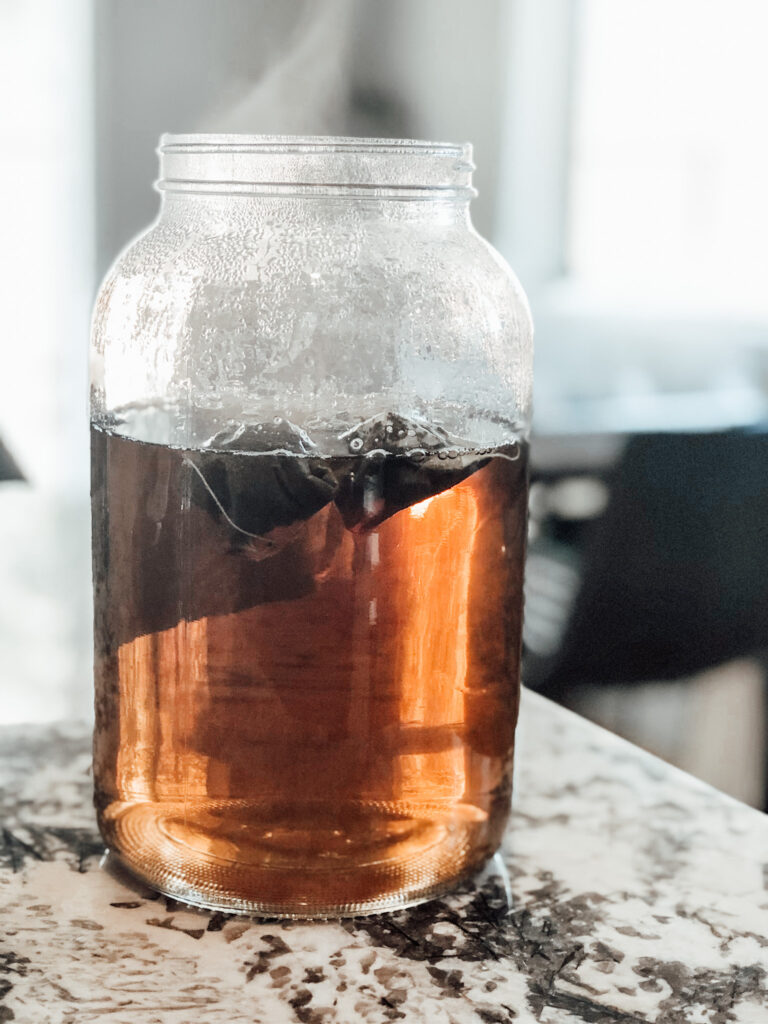
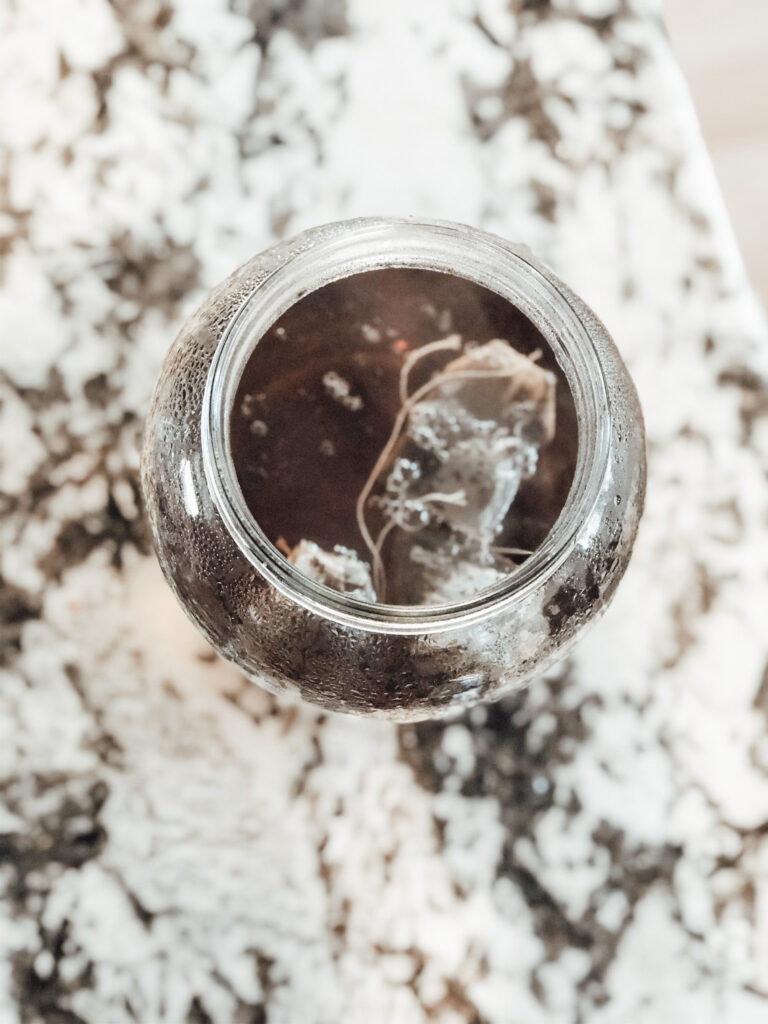
Once your tea is at room temperature, you can pour the SCOBY tea into the new tea batch and put your SCOBY into the jar. Typically the SCOBY will float at the top, but don’t worry if it doesn’t. As long as your SCOBY looks healthy, it will work it’s magic.
set and forget
Place your jar with the tea and SCOBY in a warm place in your kitchen. I typically leave mine on top of my fridge. Let it sit for 6-10 days and you will have kombucha.
The tea can sit longer than 10 days, it will just create a stronger batch, so don’t worry if you are out of town or can’t tend to it right away.
Step 3
second fermentation the flavoring pick your flavor
This is the fun part! You now need to decide what flavor or flavors you want your kombucha to be. I have always loved blackberry and you rarely find that flavor in the store, so that is what I will be doing this week. You can also combine a few different flavors, for example, blackberry and mint or blackberry, mint and ginger.
The key to the second fermentation is that you choose something with natural sugar in it. If you decide you want to do a combination like mint and ginger that doesn’t have a lot of natural sugar, you can add a small amount of sugar again to help the fermentation process along.
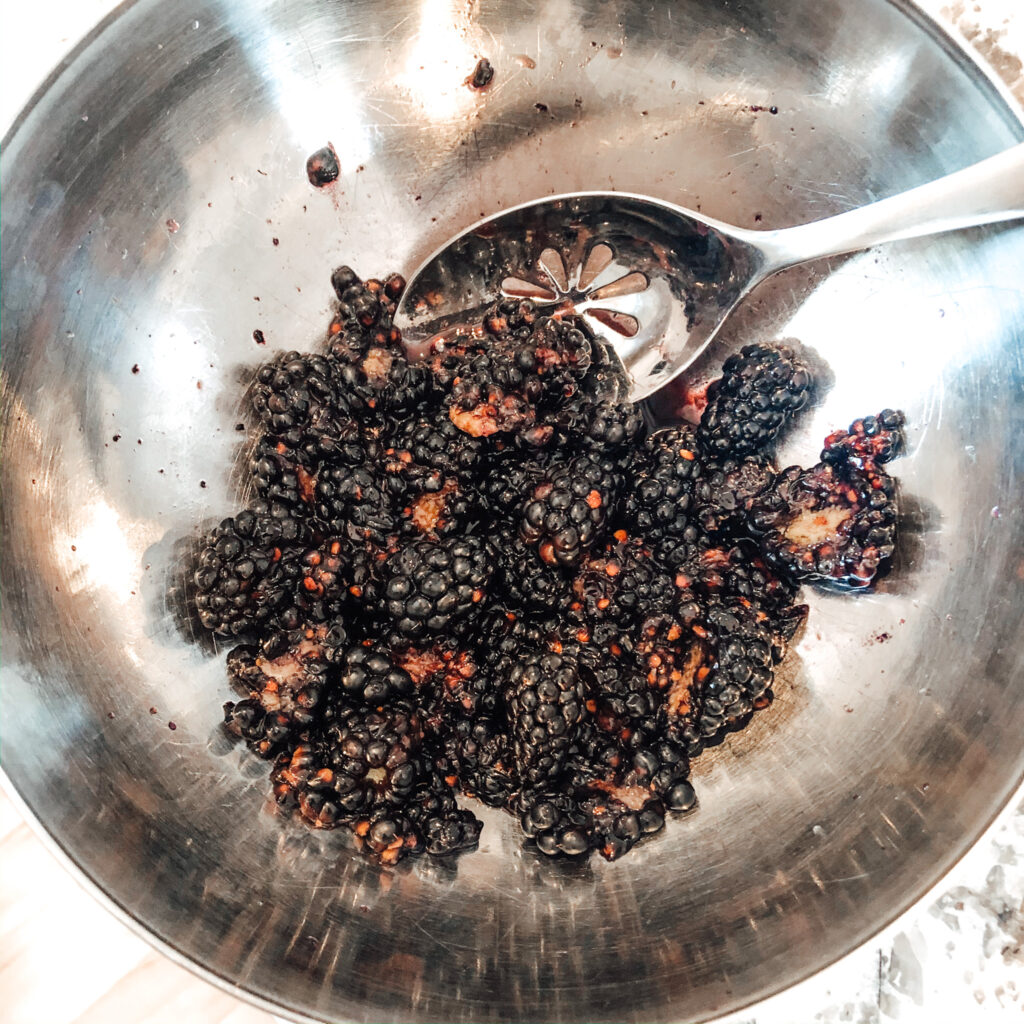
In the case of blackberries, I muddle (squish) the blackberries so that some of the juices come out. They are now ready to go into your tea.
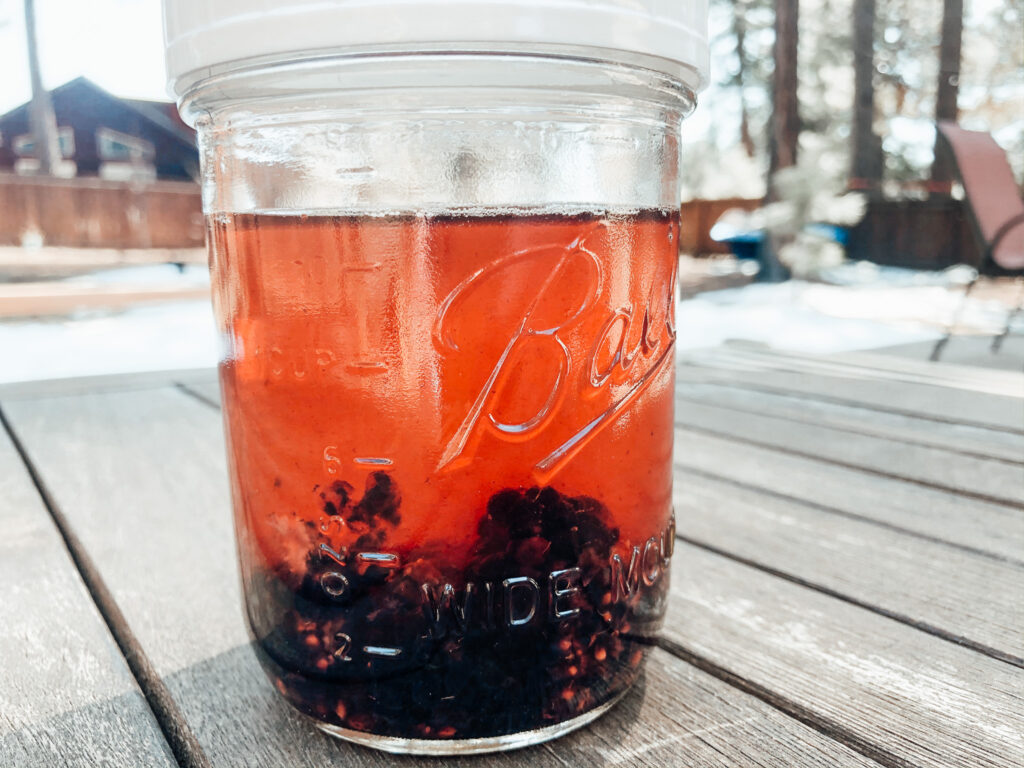
pour into smaller jars
You never want to add your flavoring into your main kombucha jar with your SCOBY. Instead, I like to pour my tea into smaller mason jars. By doing the second fermentation in a smaller jar, I have found that it actually gets more bubbles this way.
If you don’t have smaller jars, you can do it in one large jar, but again, pour the tea from your SCOBY jar into a new jar before adding flavoring.
Always leave a cup or two in the SCOBY jar so the mother is sitting in liquid. This will now be the start for your next batch.
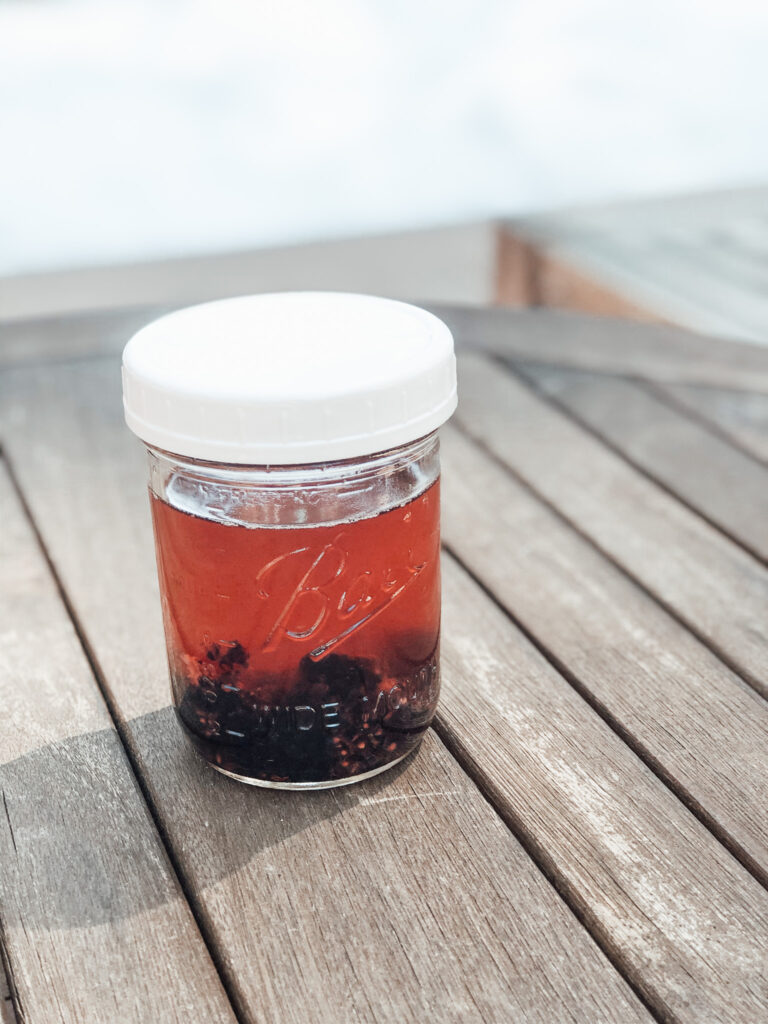
Once your tea is in it’s new “second fermentation” home or homes, you can add pieces of blackberry into each one and seal with a plastic lid. Metal + Kombucha bacterias is bad news. These plastic lids are great for wide mouth mason jars.
Tips and Notes
- When your SCOBY duplicates and grows additional pieces, you can keep an extra jar of tea mixture and SCOBYs on top of your fridge. I call this a SCOBY hotel (it will just sit dormant). Use these extras to share with a friend, switch out your SCOBY with a healthier looking one, etc. Never a bad thing to have a few of these in your back pocket. I also have a friend that feeds her extra SCOBYs to her chickens!
- If your kombucha gets mold spots, I would dump it and start over. I’ve heard that you can remove the mold spots and keep going, but that terrifies me, so a fresh start is always a safe bet. If this happens, try moving your jar to a warmer spot. The only times I have had mold in my tea is when it was winter and my jar was near a window; after moving it to the top of the fridge, I haven’t had any issues.
- If you want to create a “boozy kombucha,” in your second fermentation stage, add in some a champagne or something similar. You will find it is delicious and a great Sunday brunch addition.
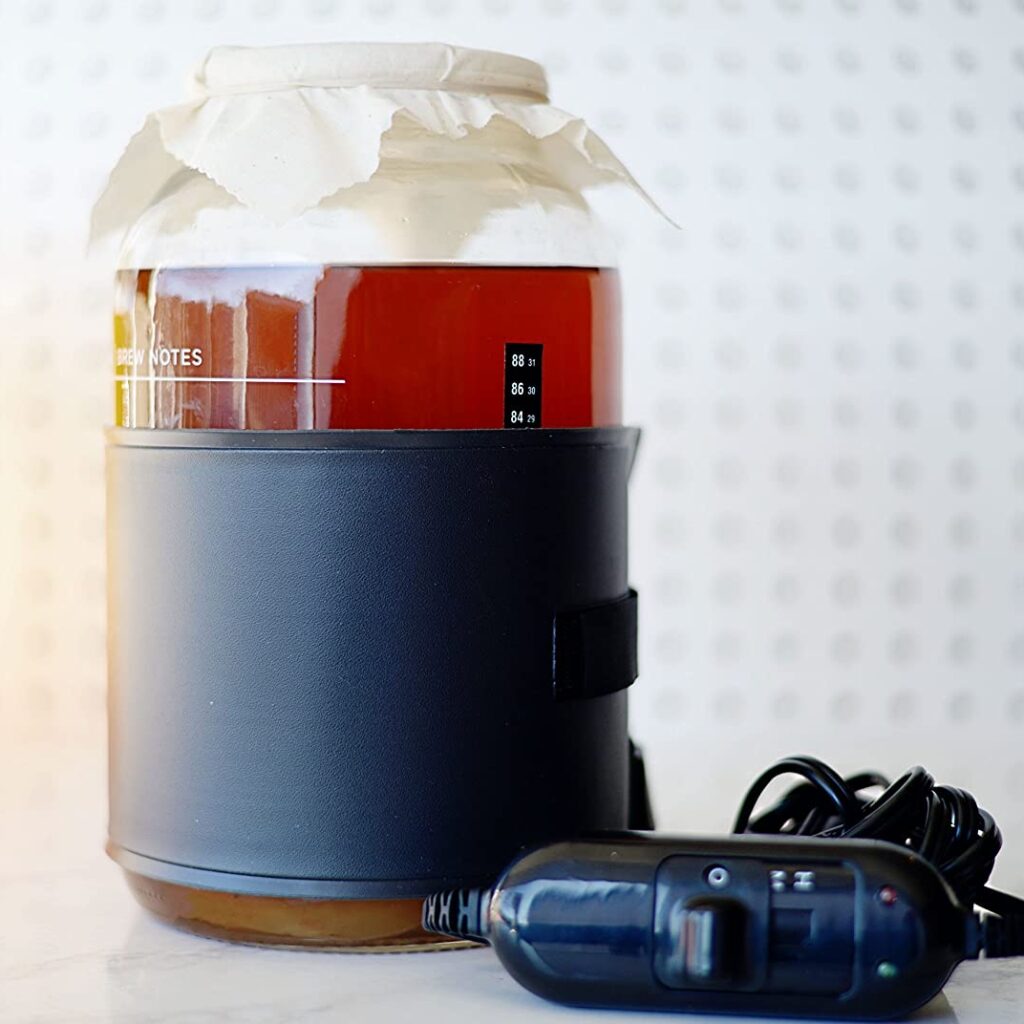
things to help along the way
SPECIALTY PRODUCTS for making kombucha


love this banana pumpkin french toast (dairy free, gluten free, and egg free) recipe?
SHARE IT ON PINTEREST
Let’s connect! Follow along on Instagram, Facebook, and Pinterest. If you make this recipe, I’d love to see! Tag your instagram versions with @homestead.onthehill and #homesteadonthehill.